DIY Botanical Wall Print
- Mar 9, 2020
- 3 min read
Updated: Mar 11, 2020

This Botanical wall art is SO easy! 3 materials, 3 steps & bam! You have a beautiful, unique print to hang What you'll need: -2 pieces of cotton fabric - I used 1 cotton drawstring bag -Hammer or Mallet -Plants/Flowers of your choosing - I used 3 small fern leaves Step 1: Pick your botanicals Choose your plant leaves and/or flowers. These should be fresh, not dried. You can separate the petals and leaves or keep them whole. Totally up to you and how you would like the end result to look! Position your flowers or leaves on a piece cotton fabric, linen, or paper. Again, totally up to you- there are so many fabrics you can hammer onto! I just clipped 3 leaves from a fern I have out on my patio and positioned them onto my cotton drawstring bag to get a rough idea of how I would like it to look. I chose a little bag to hammer these onto to make it functional if I wanted to use it in the future! You can find the cotton bags here


Step 2: Hammer Time
Ok! So once you have everything positioned the way you would like it- all you have to do is lay a separate piece of fabric carefully on top of all of your flowers and leaves, being careful not to move anything around, & then start hammering!
If you are using a bag like me, I turned my bag inside out first and then positioned my leaves inside the bag-making sure to position them exactly how I want the finished piece to look & then took my hammer to it!
*It's easiest to hammer on a smooth hard surface. Whatever surface you are hammering on that texture will show through onto your leaves-make sure it's smooth if that's the look you are going for!

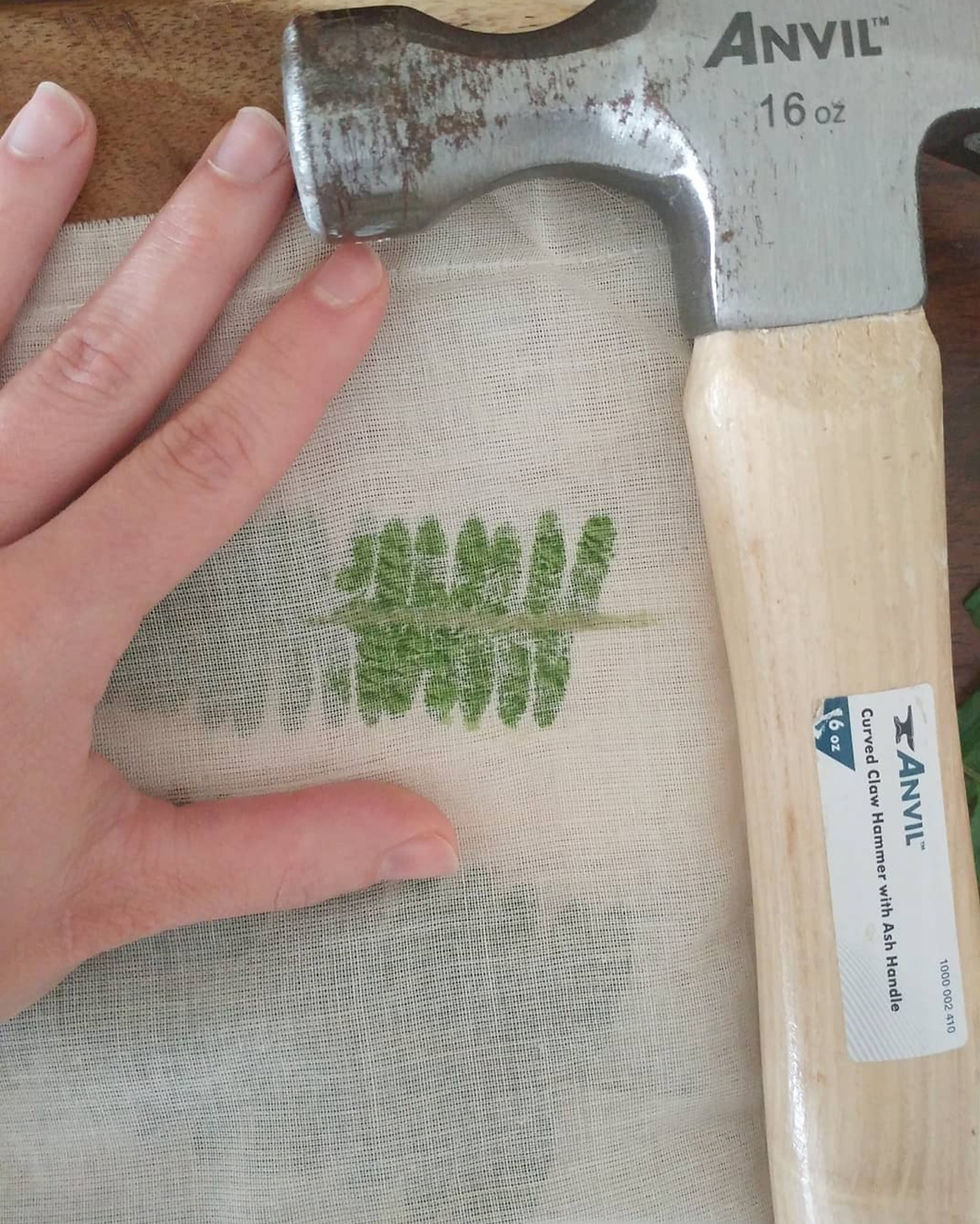
It's loud, but it's fun! Hammer it good to release all of the leaf juices so it can stain the fabric! Don't be shy!! Maybe do it outside and away from pets- my dogs and birds were disturbed haha! I also ended up breaking one of my favorite lamps in the process. *palm to face* I didn't realize it was slowly vibrating off the desk every time I hammered away---so learn from my mistakes. These easy DIYs can get dangerous!

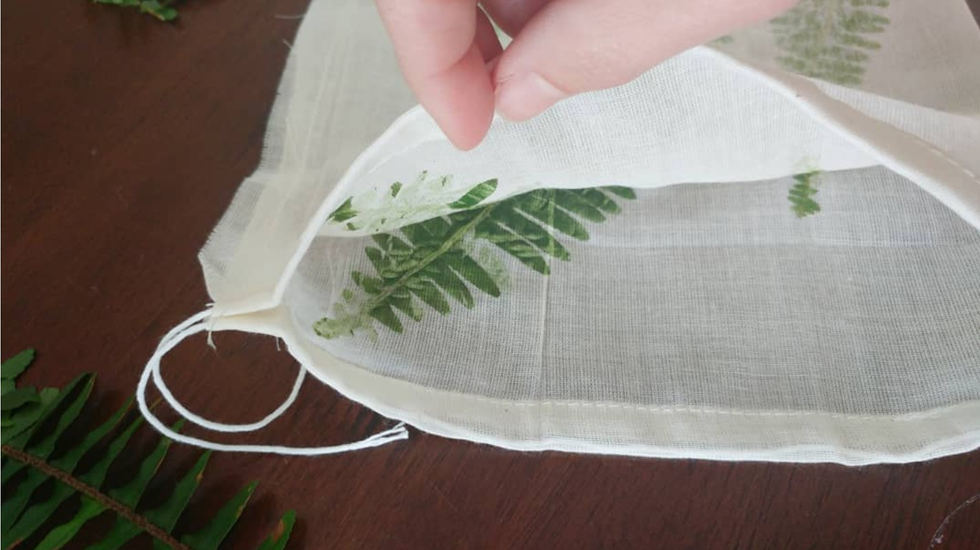
Step 3: Peel & Reveal
So now you've hammered away and disturbed the whole house hold and neighborhood, right??
Now it's time to reveal your work! Slowly peel back your separate piece of fabric or in my case lift up one side of the bag, peeling the leaves off of one side. You can now also turn your bag right side in. The deeper color from the hammering should now be on the front of your bag =)
Most of the leaves/flowers you'll be able pull away, but the bits that stay will dry up and you'll be able to brush away later.
& there you have it! My bag has 4 images of these leaves because they hammered all the way through. If you do it on a cloth you should end up with 2 separate pretty botanical hangings!


I left the little pieces that were stuck -I though it added a little more texture and dimension, but they'll fall off eventually when they dry up. I hope ya'll like this easy DIY! There are so many flowers, plants, and fabrics you can choose from. Plus, it's so rewarding making something from something you grew or even foraged! And way cheaper than a botanical print you would buy in the store! Have fun with it & if you end up making one please share it with me. Let me know below in the comments or you can share it with me @tys_knots on Instagram ~ty


Comments